
Step 1
Open the official website and choose arm64
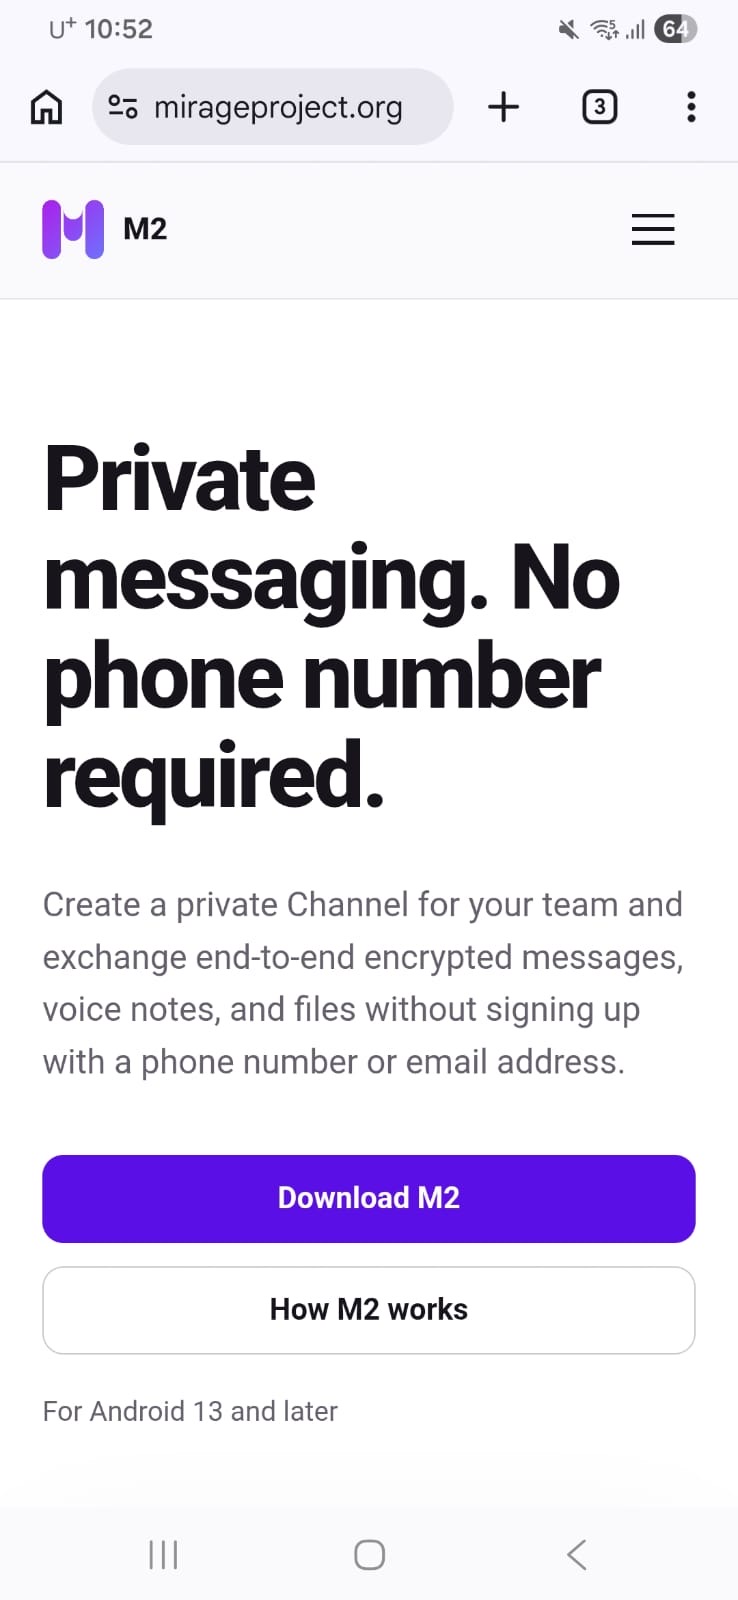
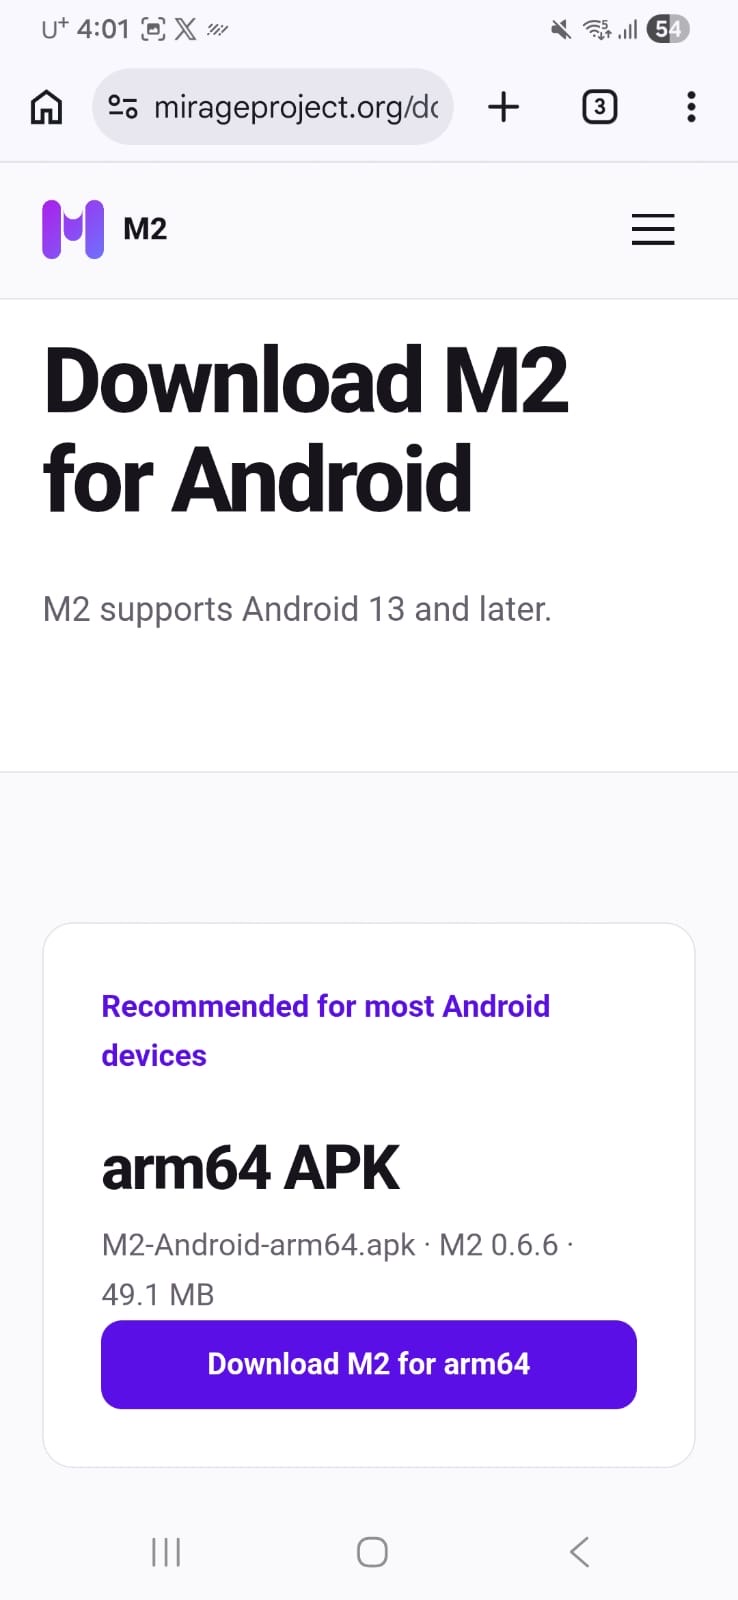
On your Android device, open mirageproject.org, tap Download M2, then choose Download M2 for arm64. This is the recommended build for most recent Android phones and tablets.
A screen-by-screen guide for Android 13 and later—from the APK download to your first private Channel.
Check before installing
If any of these details is different, cancel the download and return to the official M2 website. Advanced users can also compare the SHA-256 checksum on the verification page.
Chapter 01
The screenshots show one Android and Chrome configuration. Your device may use different wording or show fewer prompts.
On your Android device, open mirageproject.org, tap Download M2, then choose Download M2 for arm64. This is the recommended build for most recent Android phones and tablets.
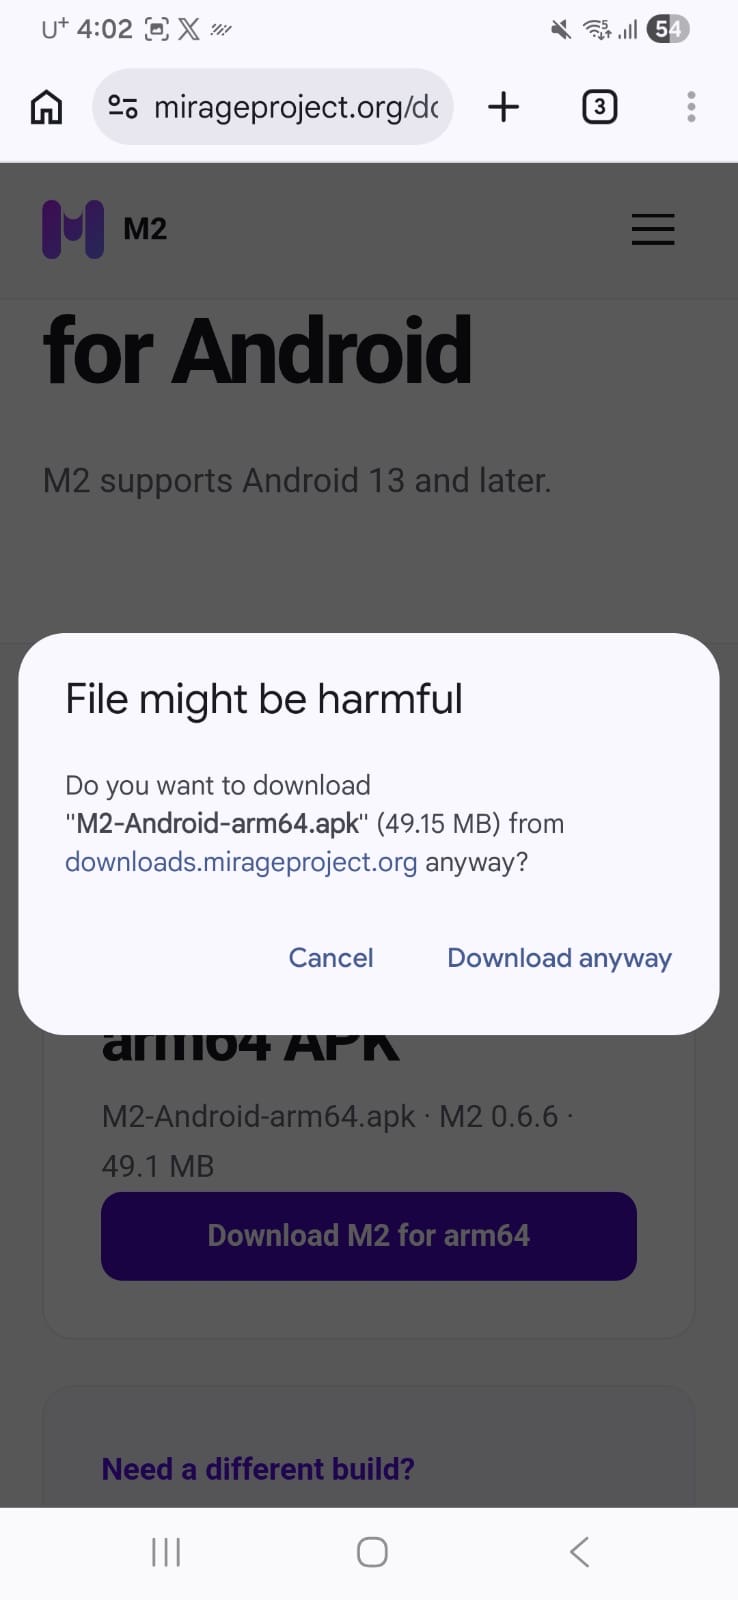
Your browser may warn that APK files can be harmful. Before continuing, verify the prompt shows M2-Android-arm64.apk from downloads.mirageproject.org. If it matches, tap Download anyway.
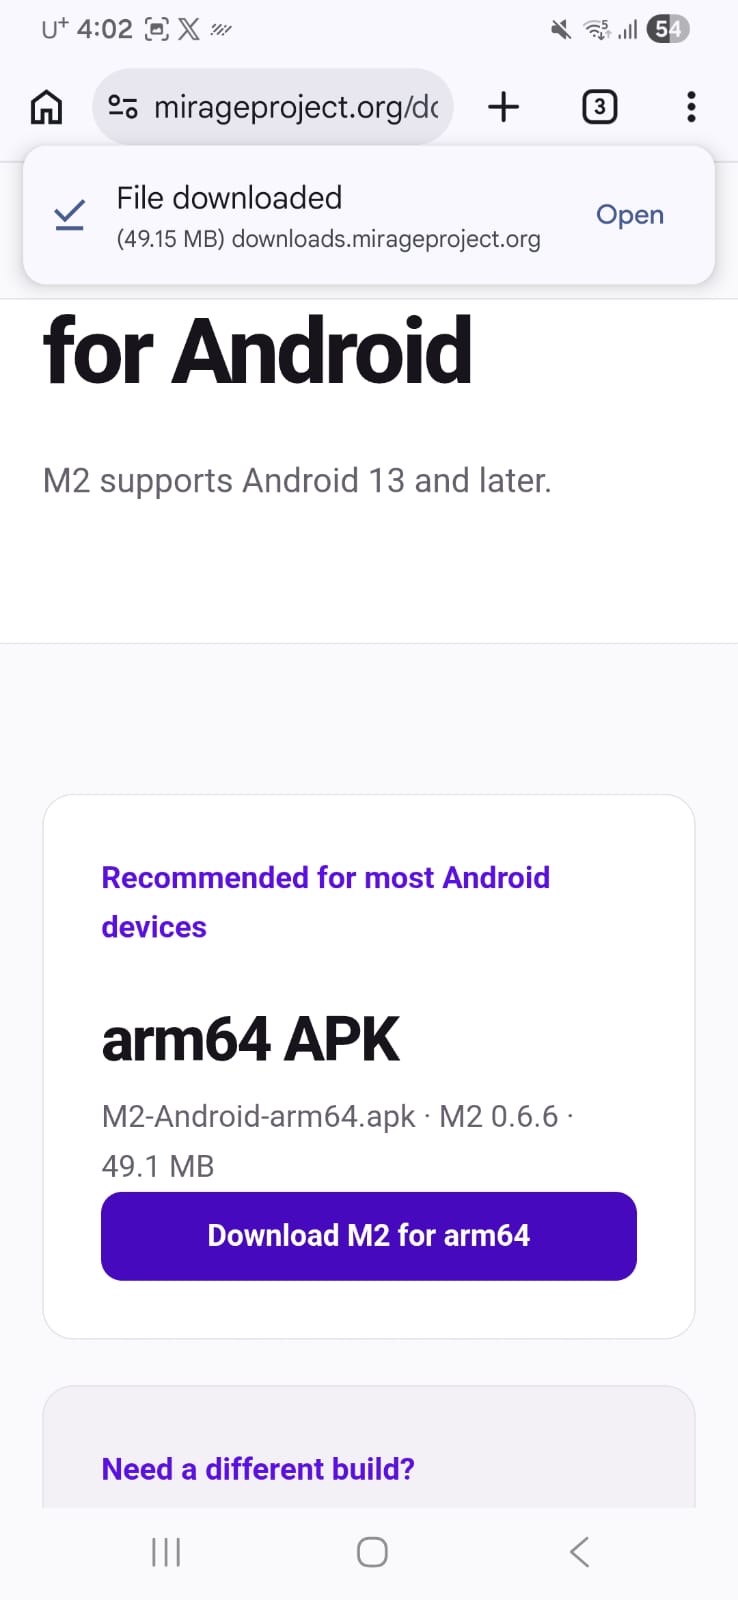
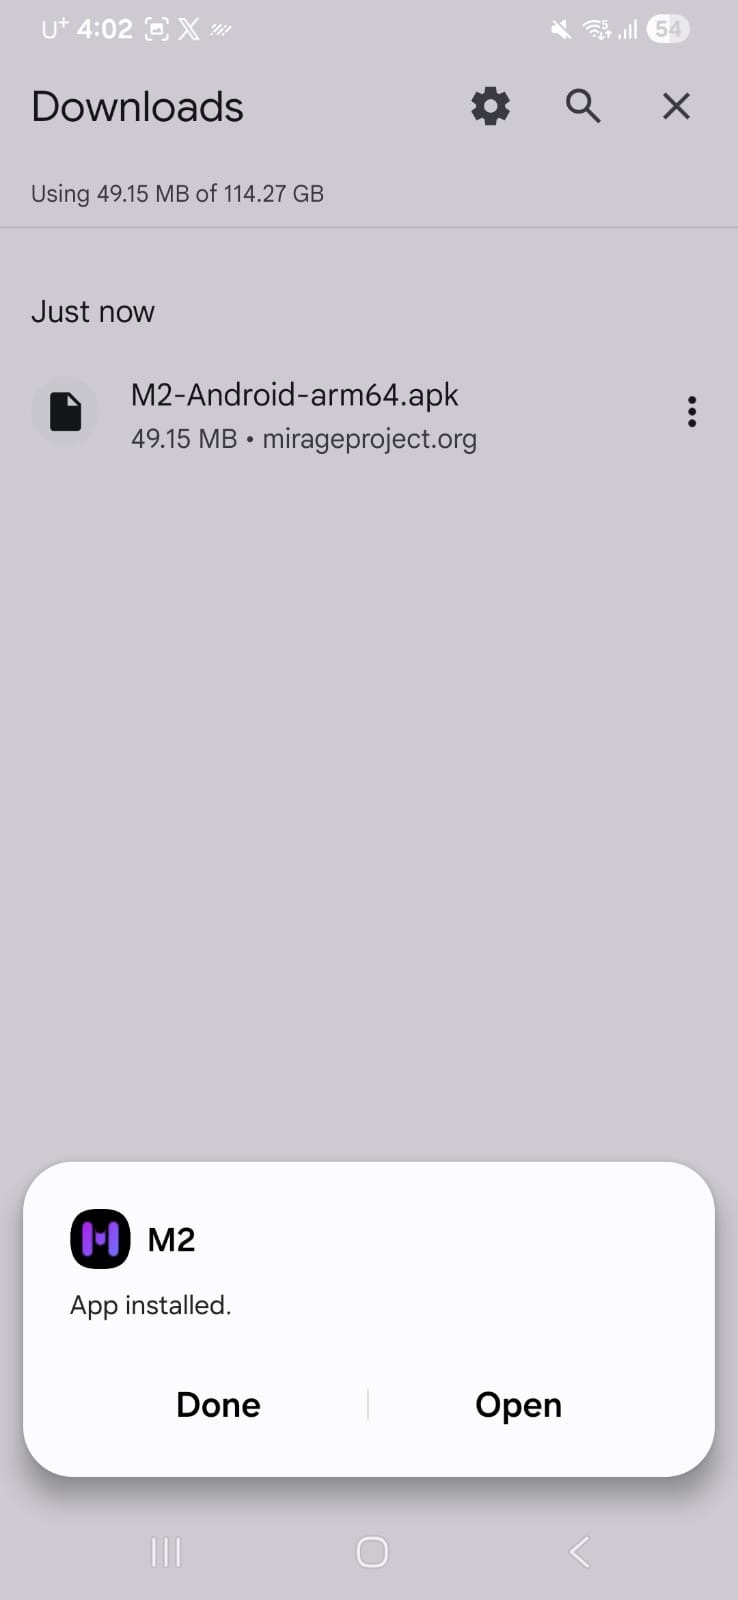
When the download finishes, tap Open. You can also open your browser’s Downloads screen or Android file manager and tap M2-Android-arm64.apk.
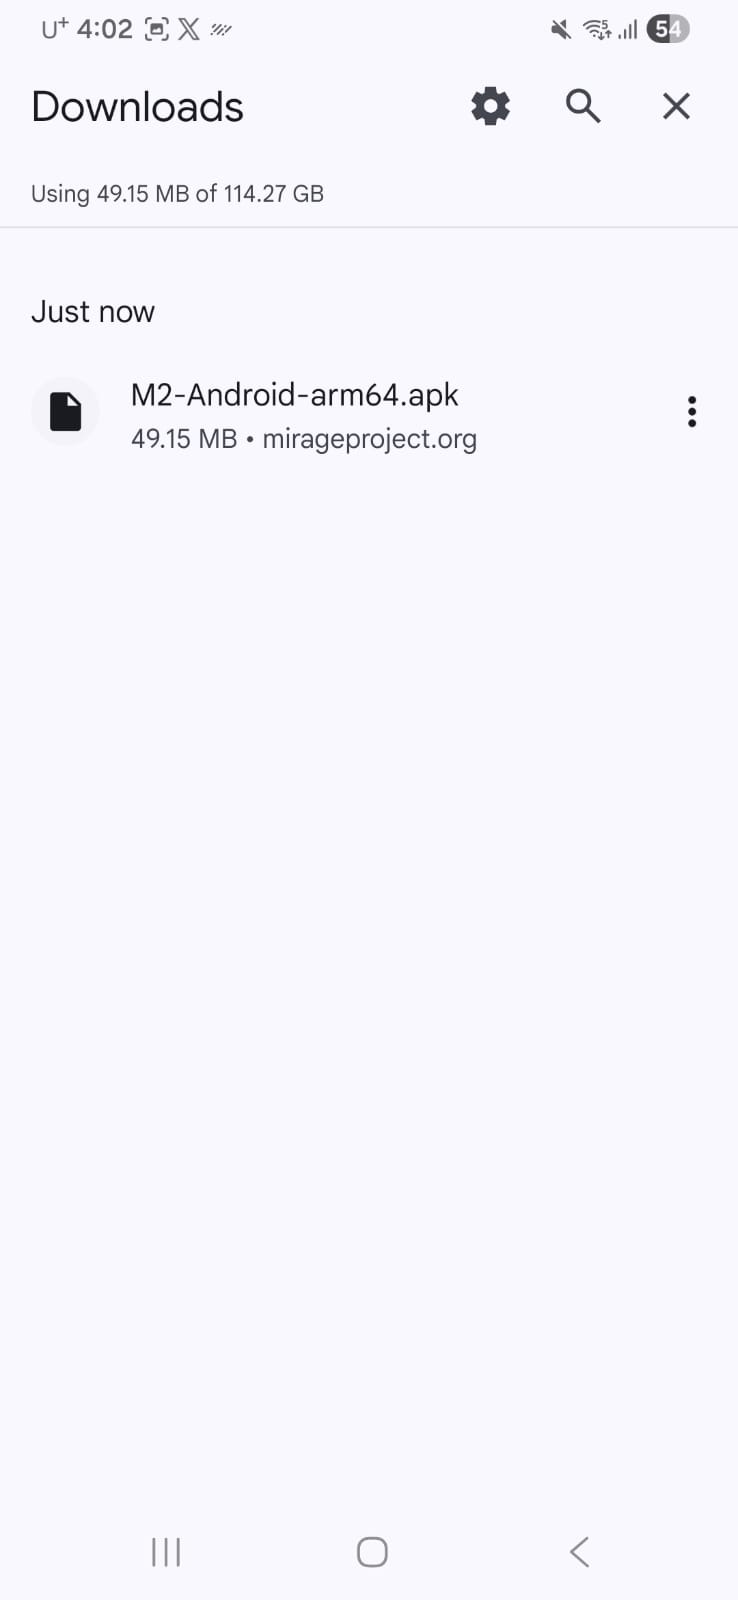
Android should identify the app as M2. Tap Install. If Android asks whether this browser or file manager may install apps, grant permission only to that app for this installation—do not enable unknown installs globally.
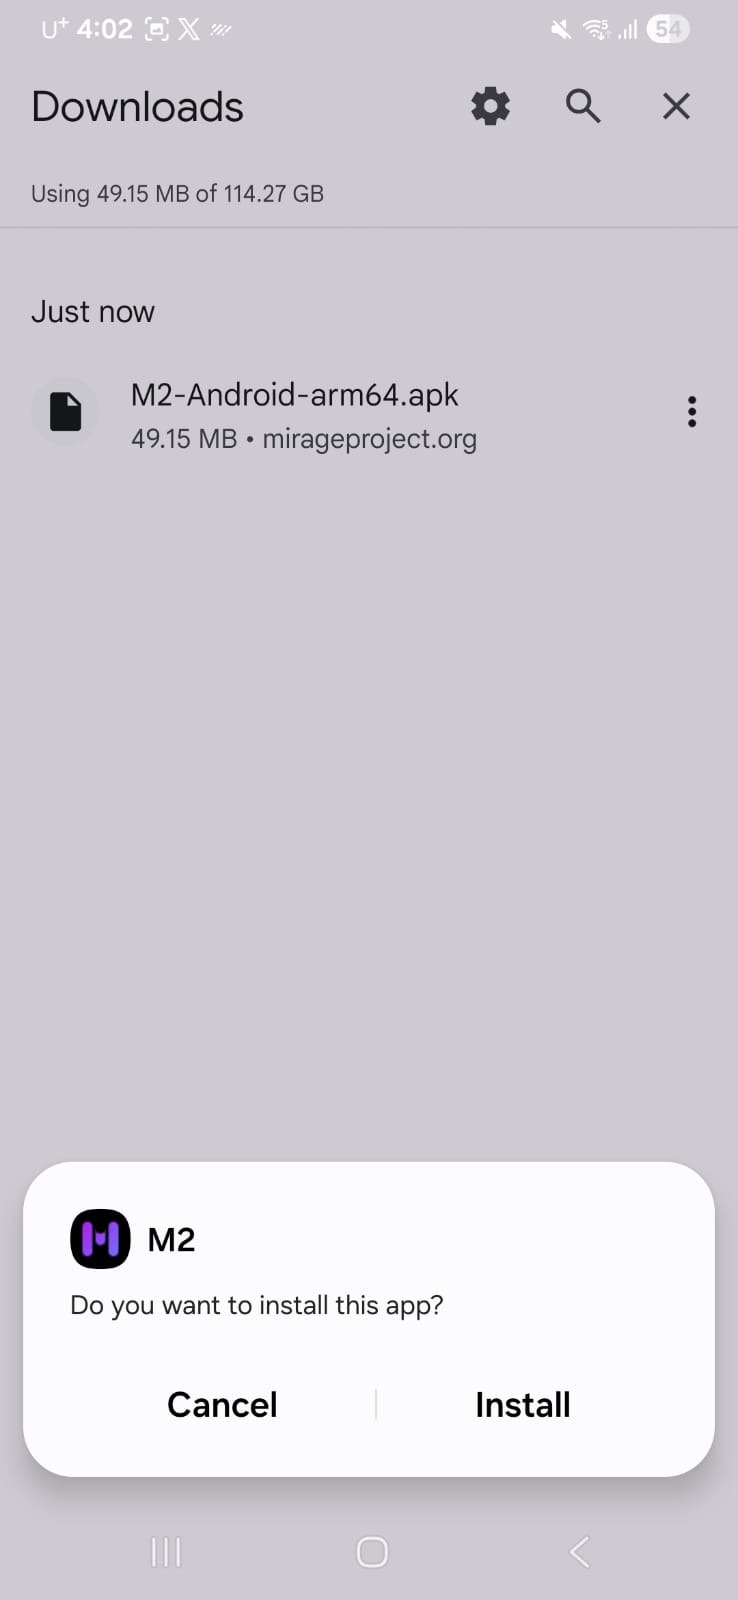
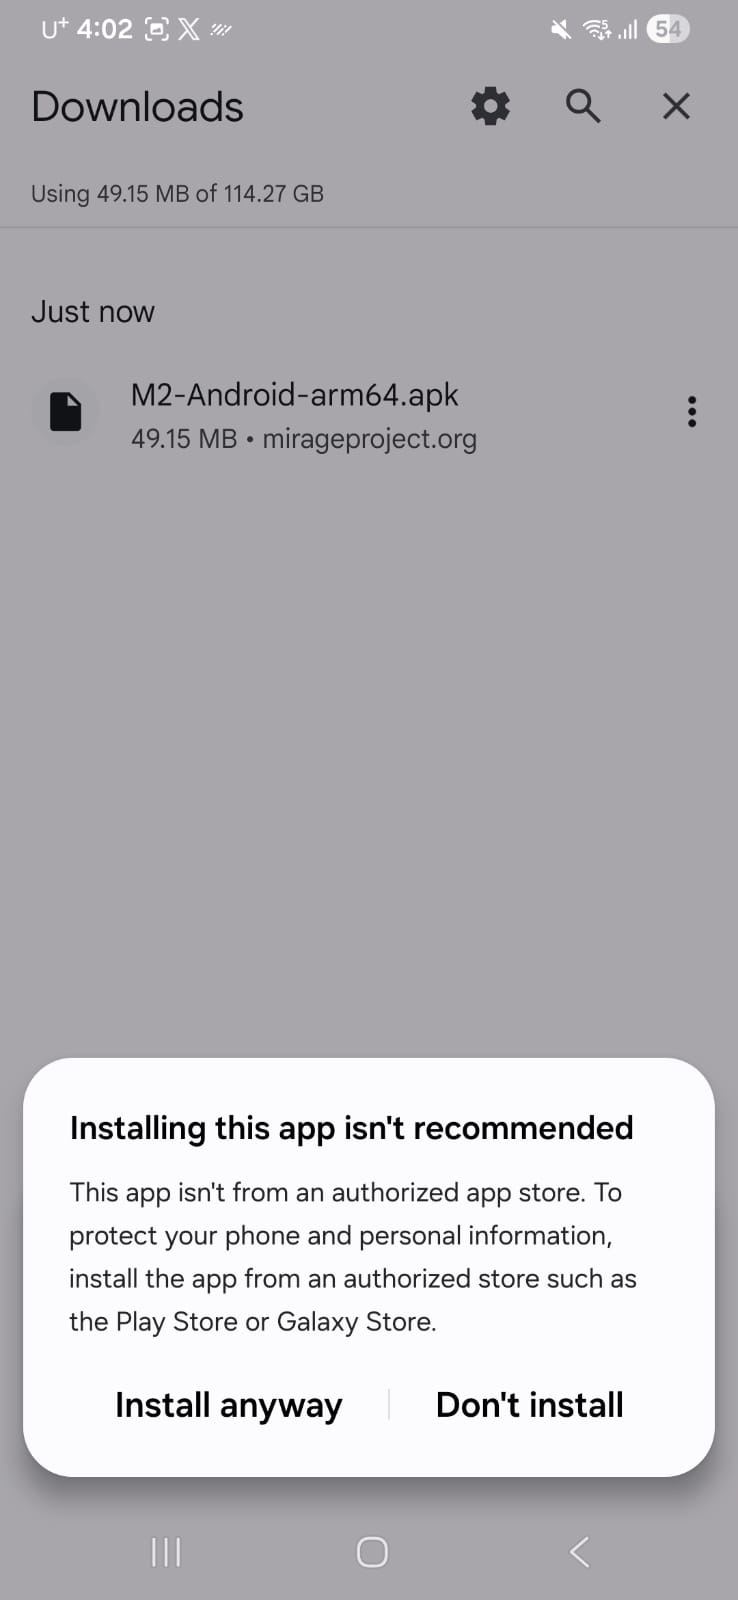
Google Play Protect may recommend scanning an app downloaded outside Google Play. If Scan app is offered, scanning is recommended. Some devices place other choices under More details; you do not need to turn off Play Protect globally.
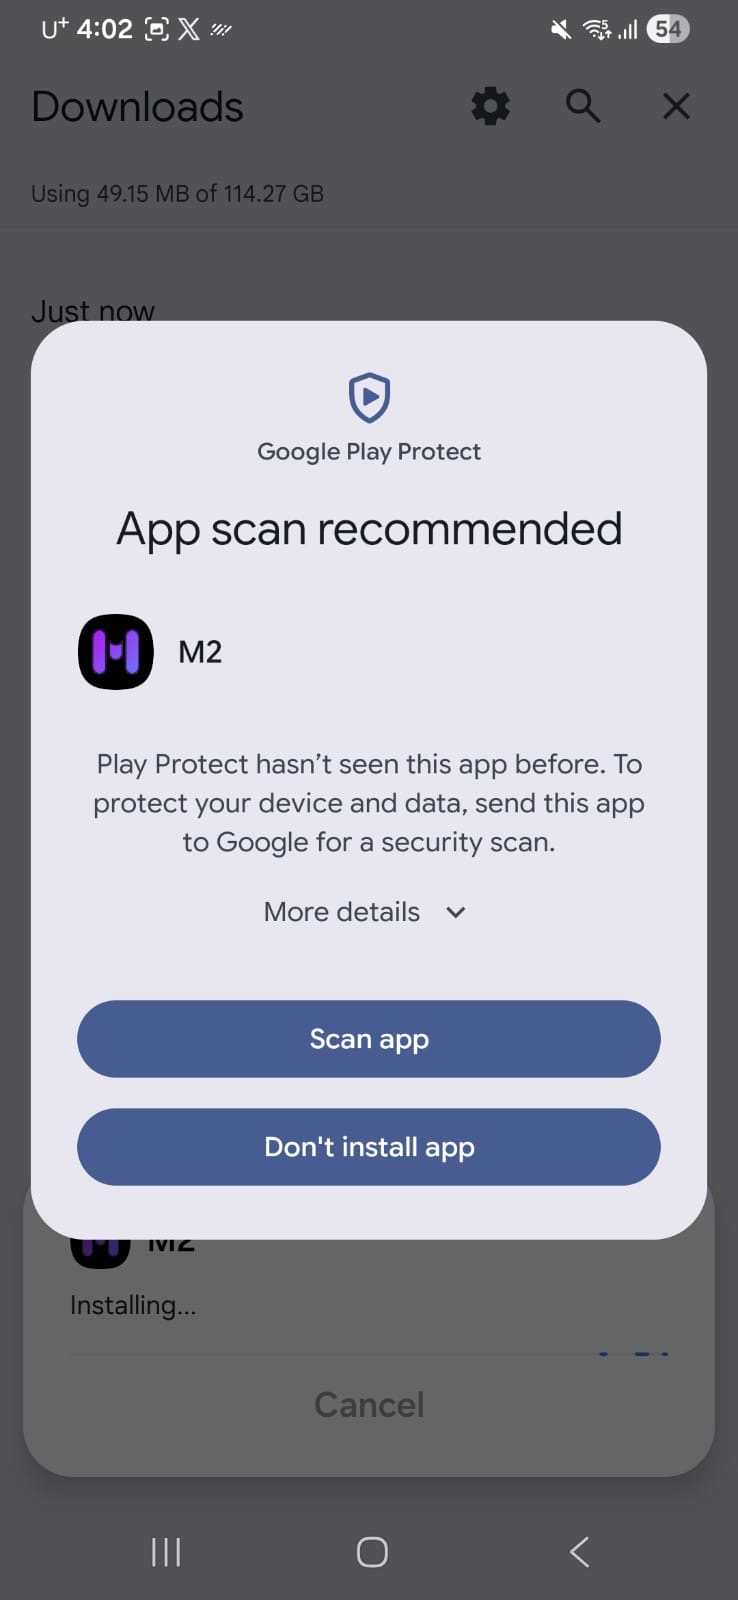
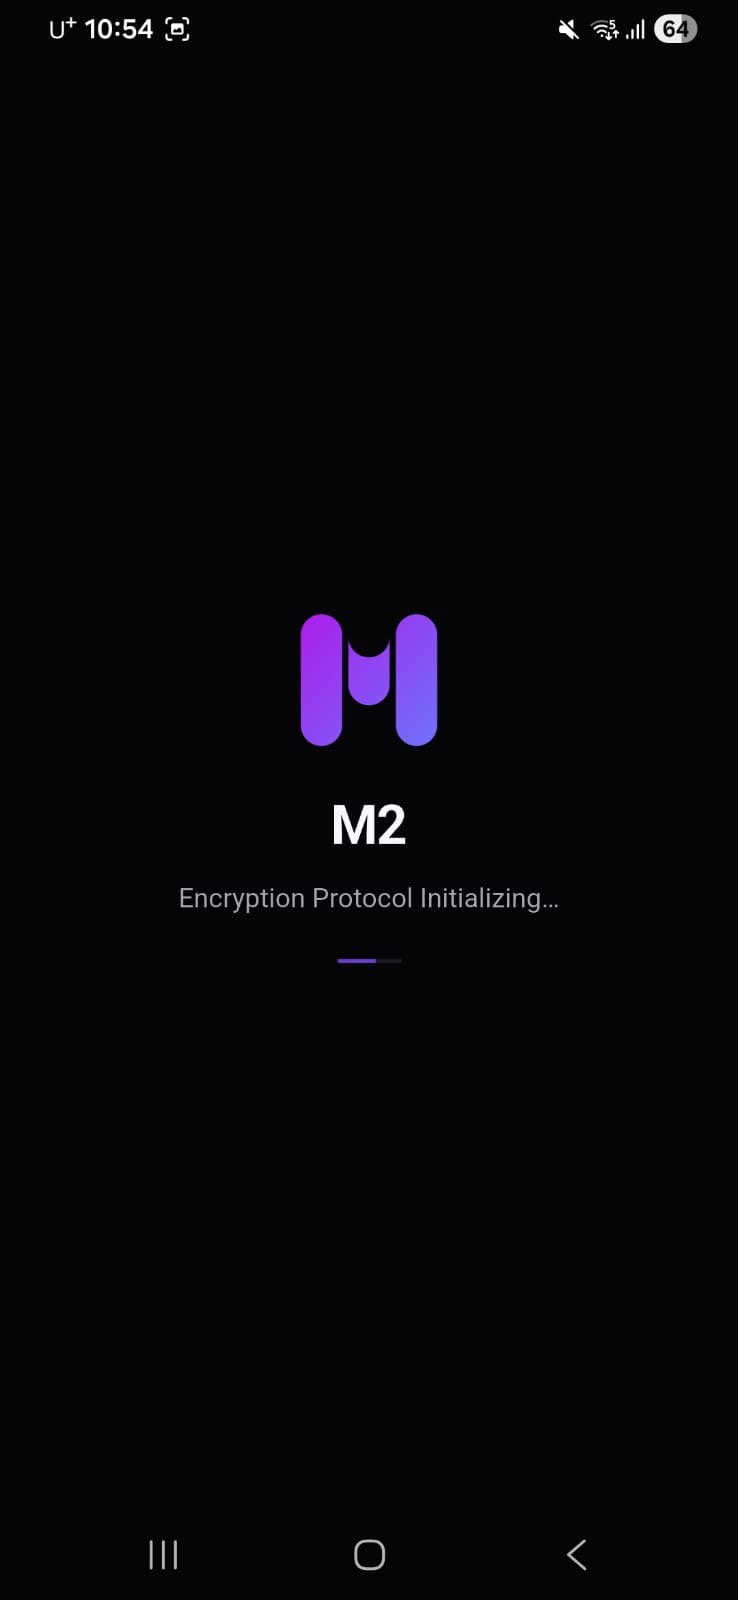
When Android reports App installed, tap Open. M2 initializes its encryption components, then opens the Channels screen.
Chapter 02
A Channel is a private space for one team or project. Create one only after M2’s protected connection is ready.
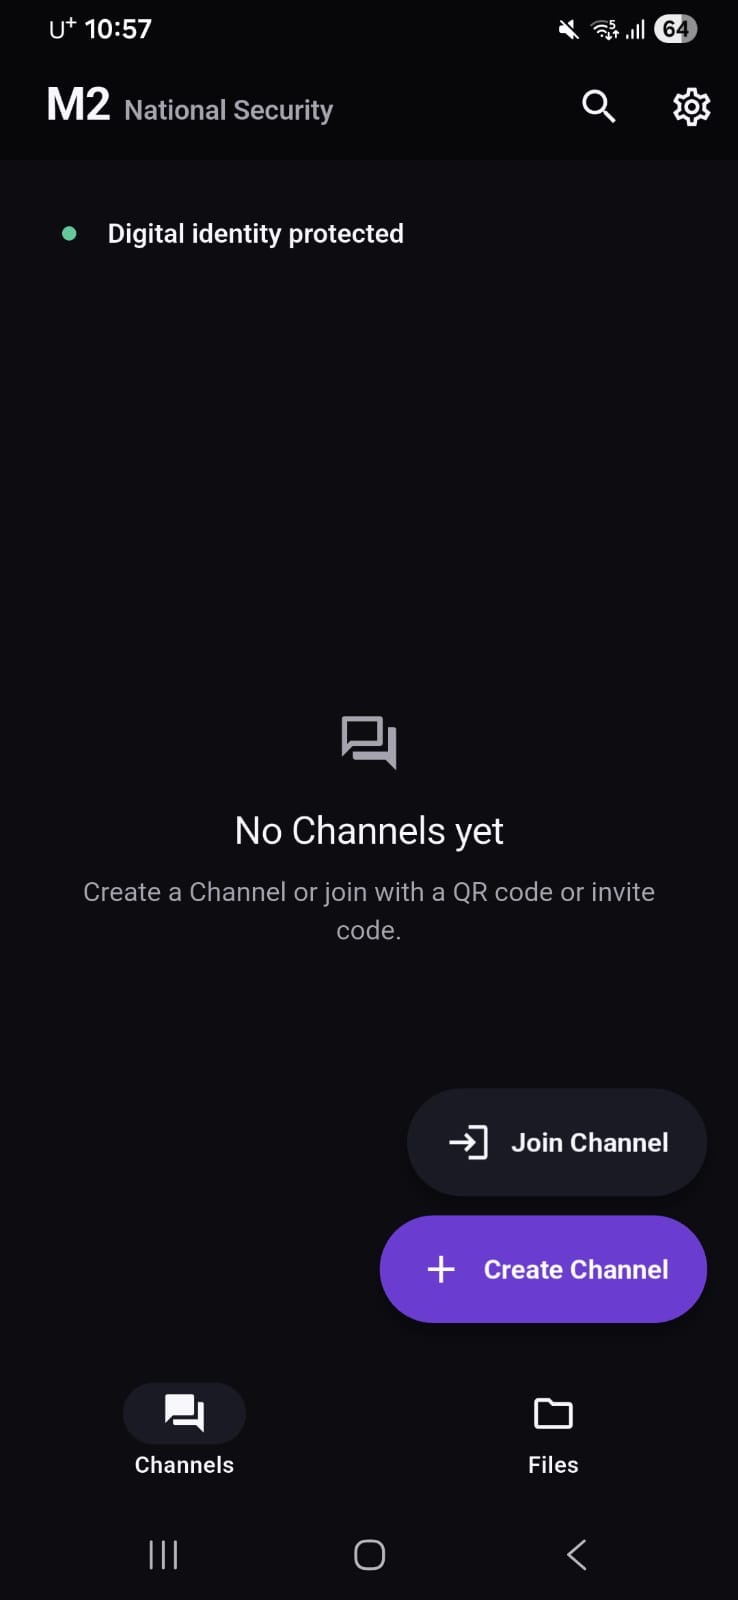
M2 may first say Protecting digital identity. Keep the app open and wait. Continue only after the status changes to Digital identity protected and the connection indicator turns green.
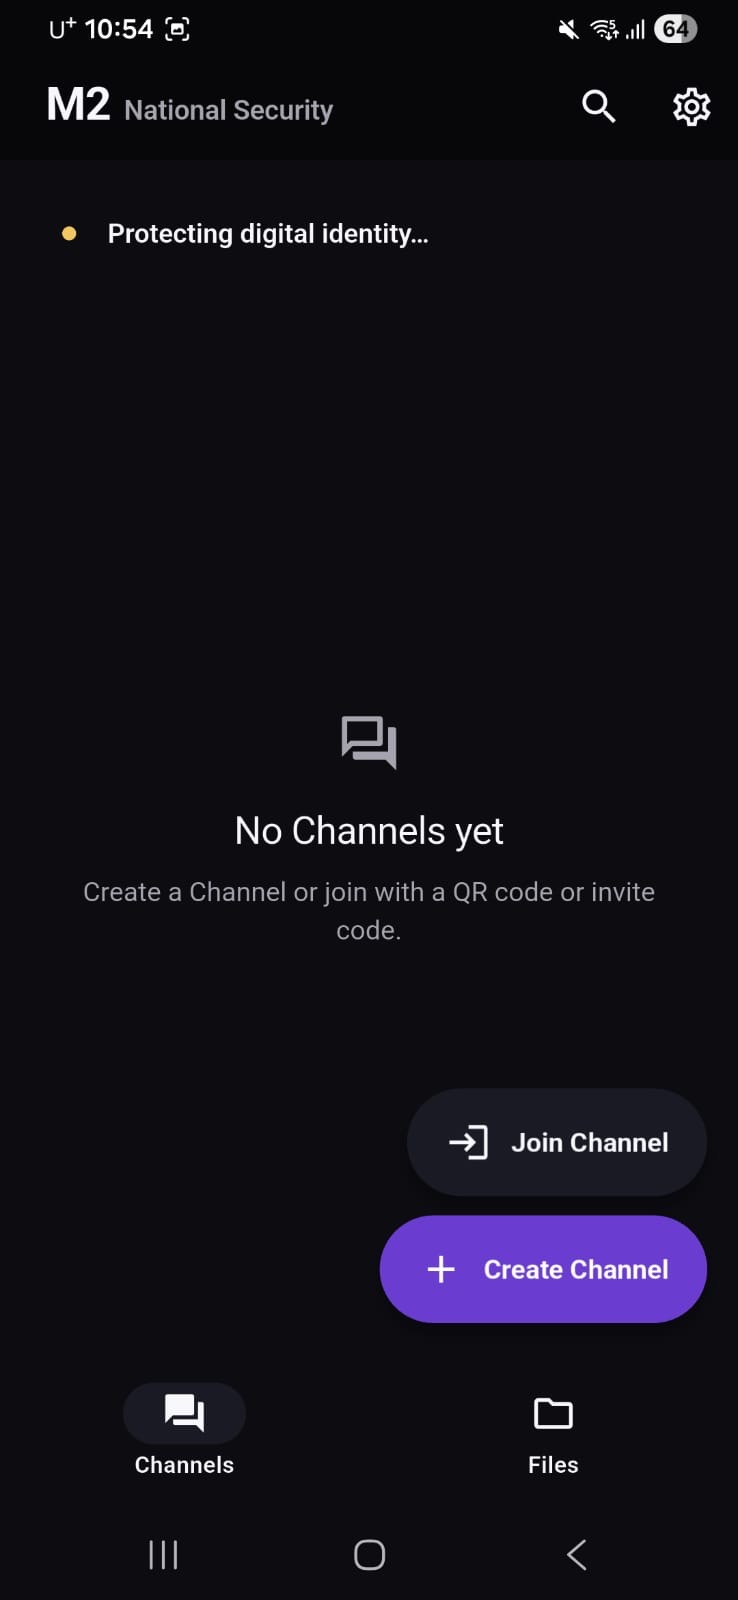
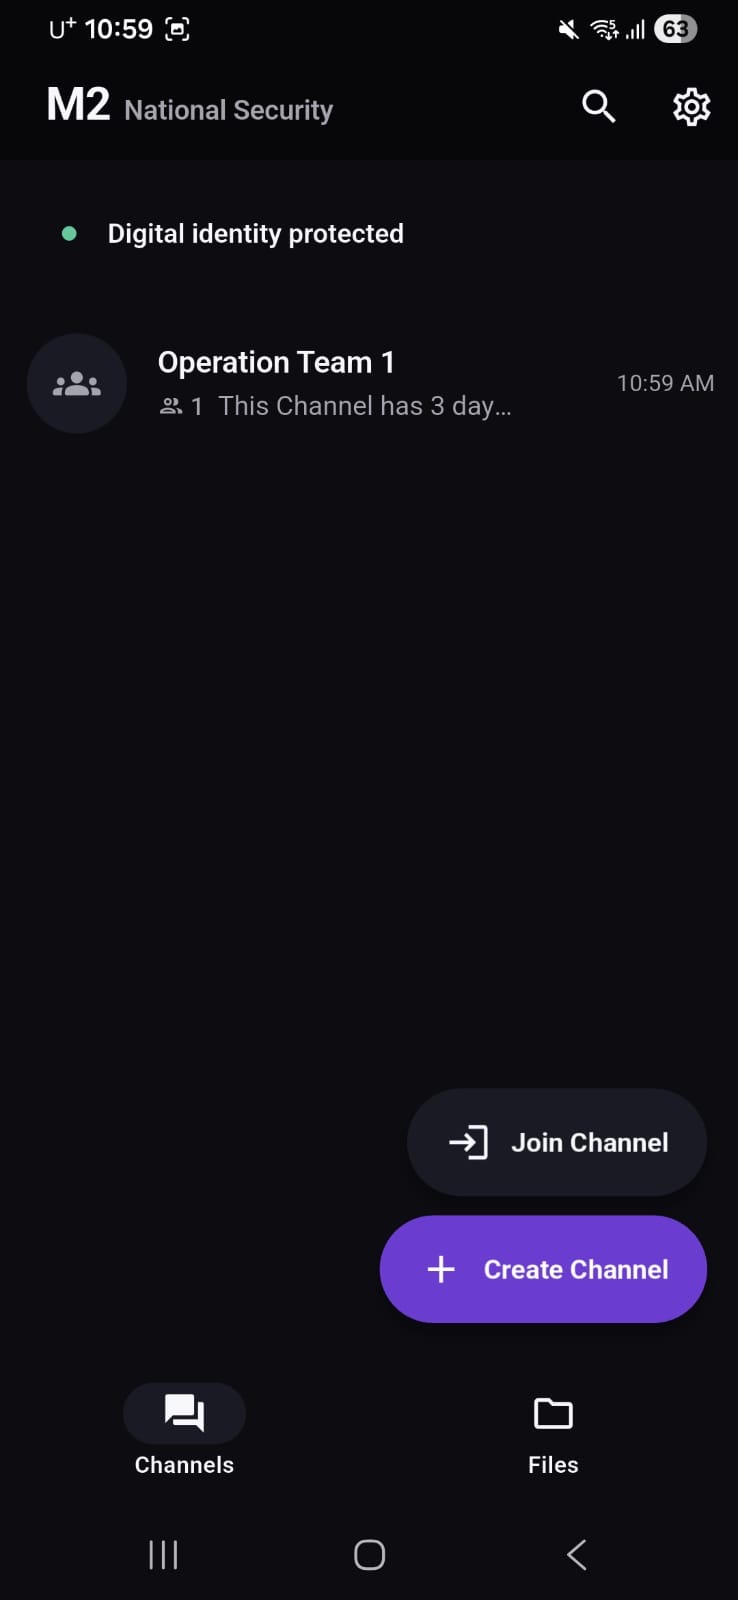
On the Channels screen, tap Create Channel. Use Join Channel only when another Host has invited you.
Paste a valid M2 Code and tap Next. Treat an M2 Code like a private credential; do not post it publicly or send it by ordinary email. For purchase inquiries, contact info@mirageproject.org.
Enter the Channel name you want to see on this device, then tap Next. Choose a name that helps you distinguish this work from other Channels.
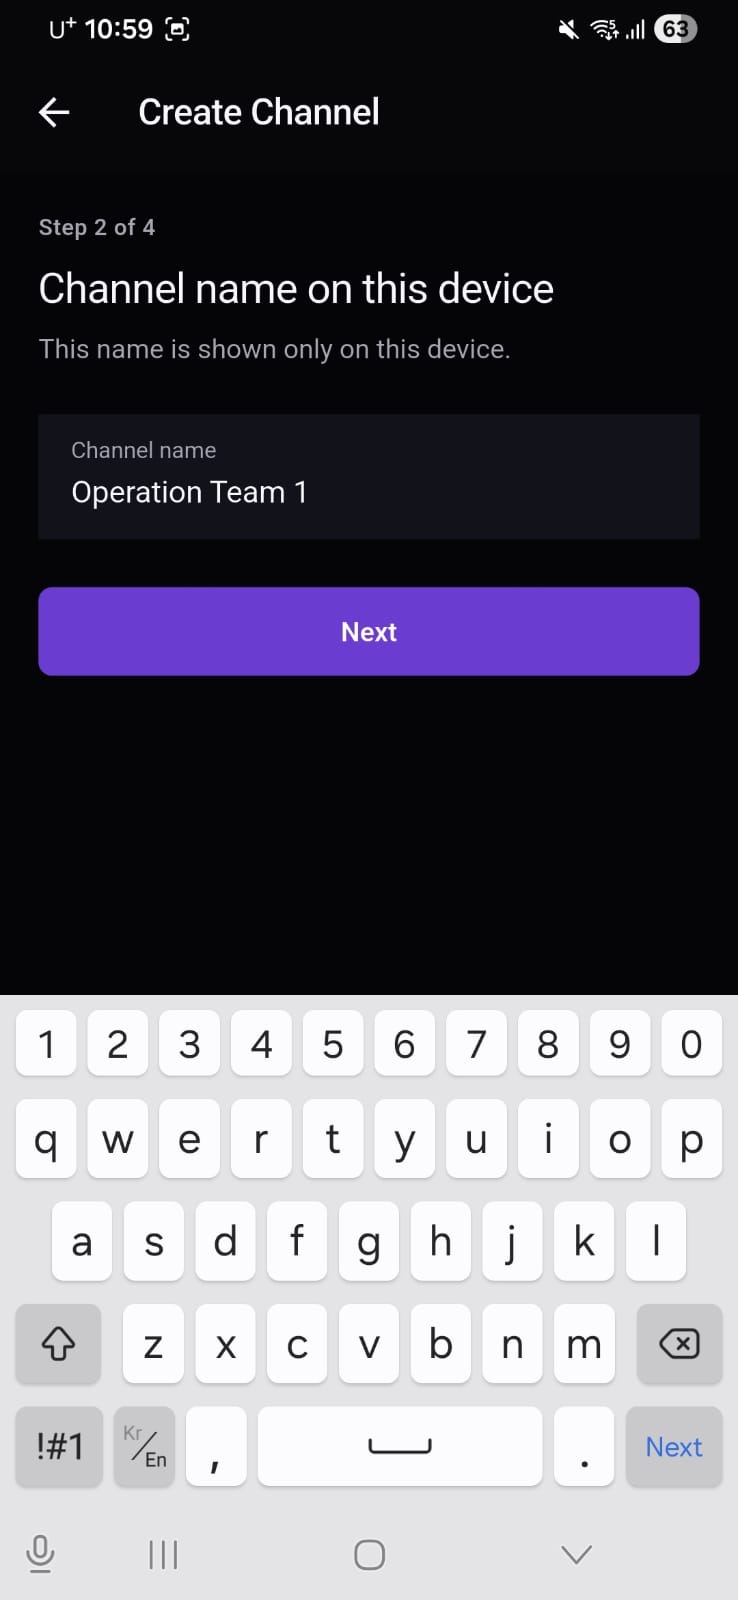
Enter the name other Channel members should see, then tap Next. You do not need to use a legal name.
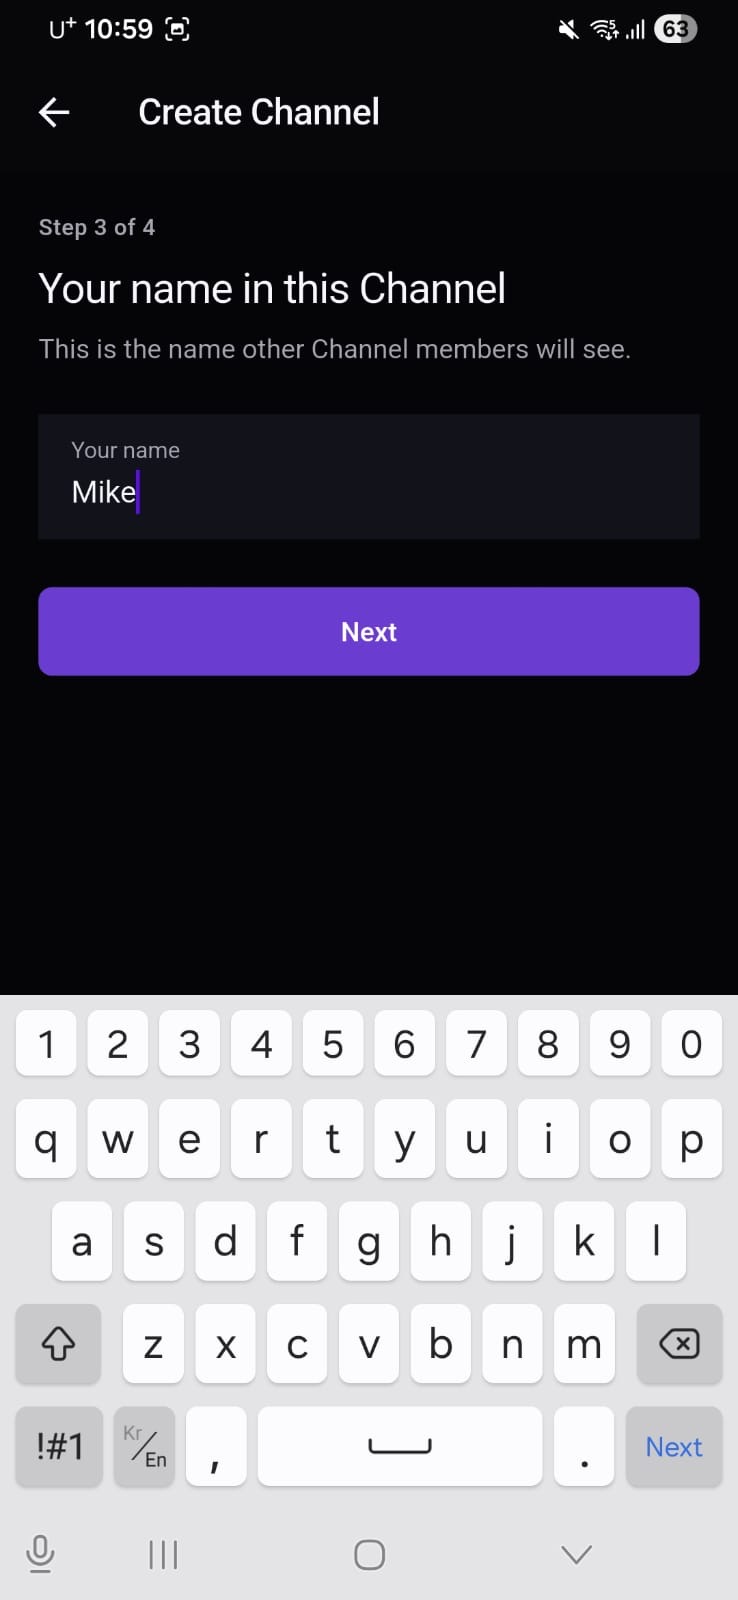
Review the Channel name, your display name, and the accepted M2 Code. When everything is correct, tap Create Channel.
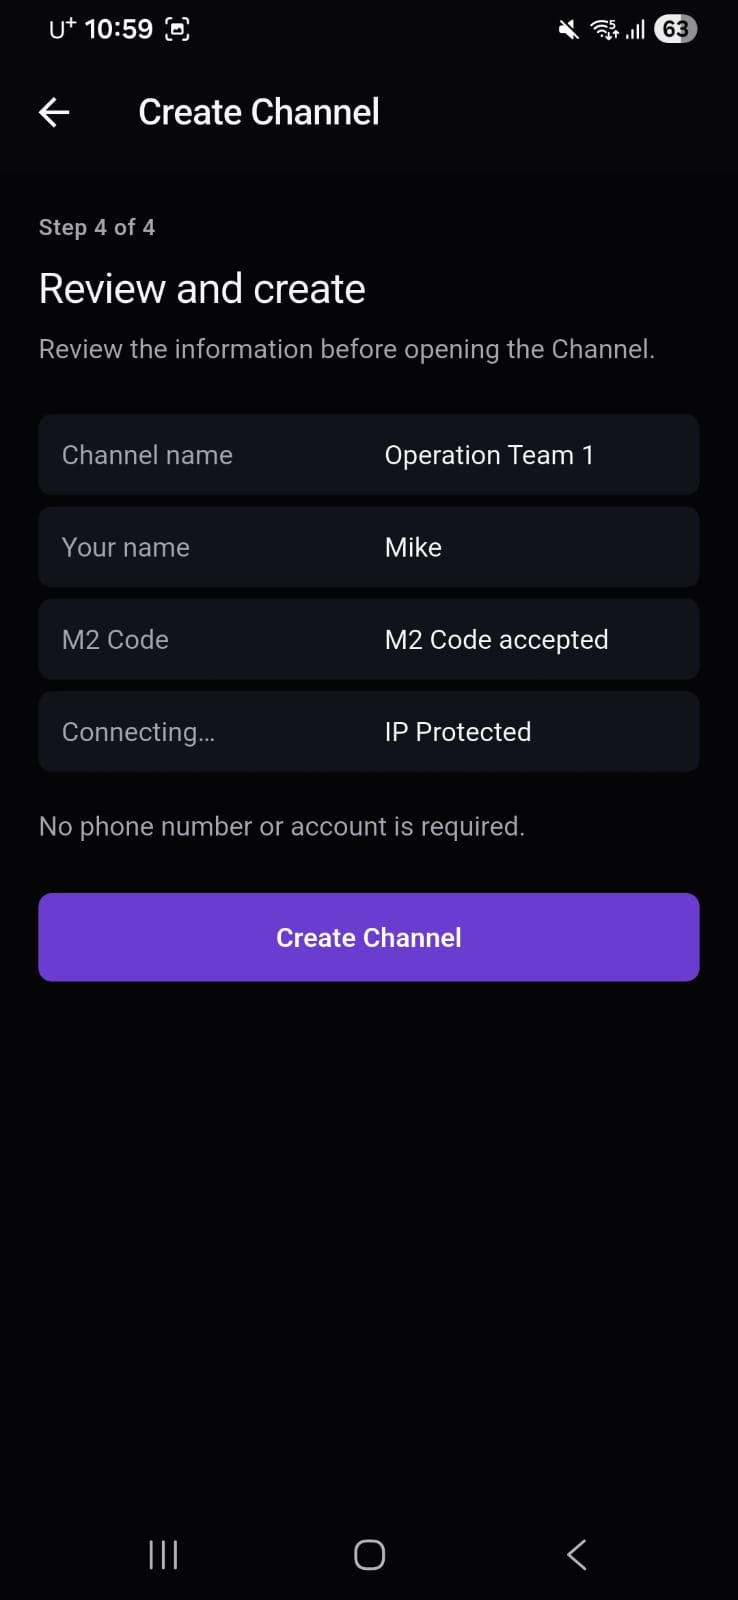
After creation completes, the new Channel appears on the Channels screen. Open it to message the team or invite members.
Chapter 03
Each invitation grants one person access to your Channel. Open Invite member again for every additional person.
Open the Channel, then tap the settings icon in the top-right corner.
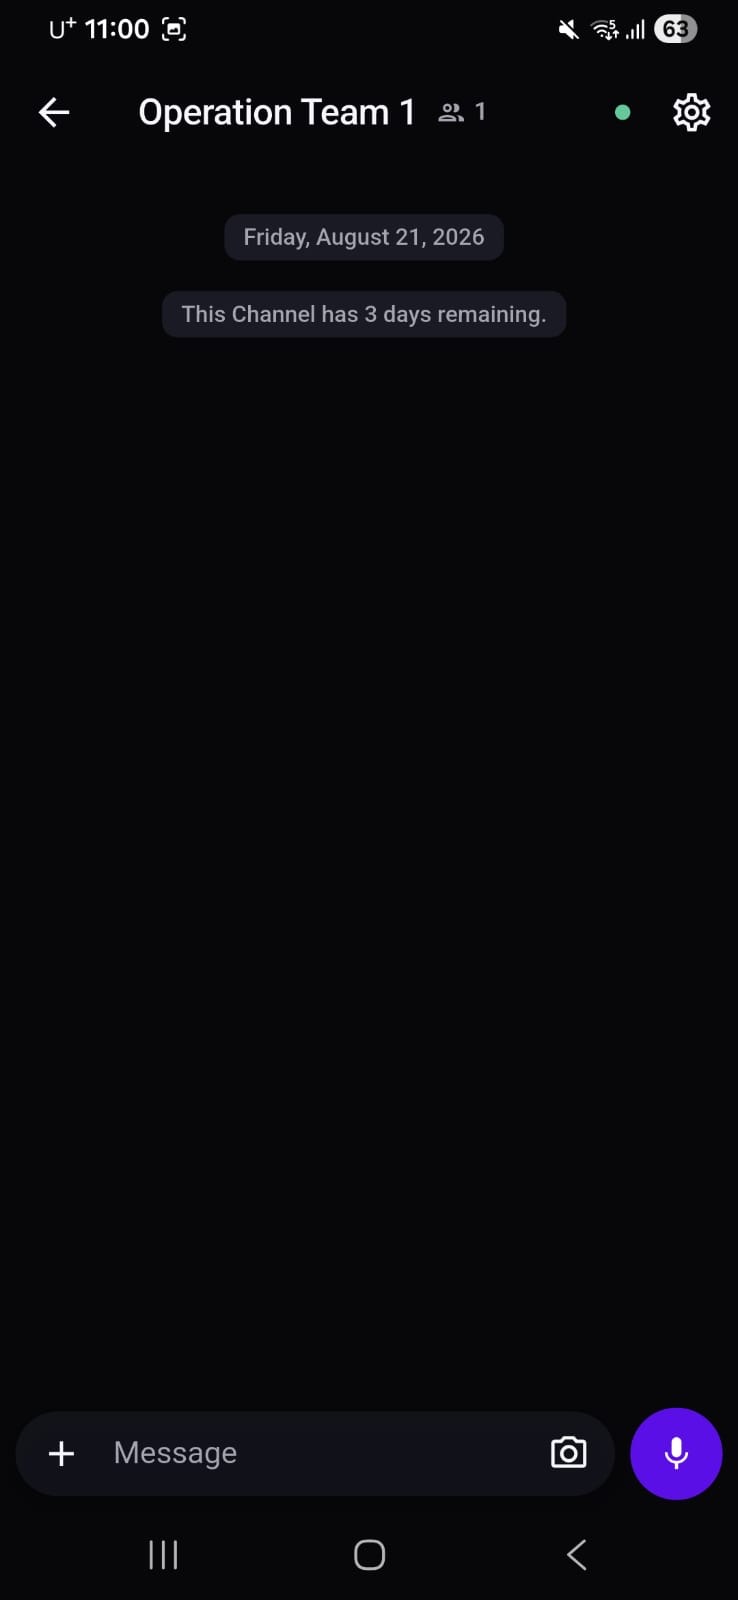
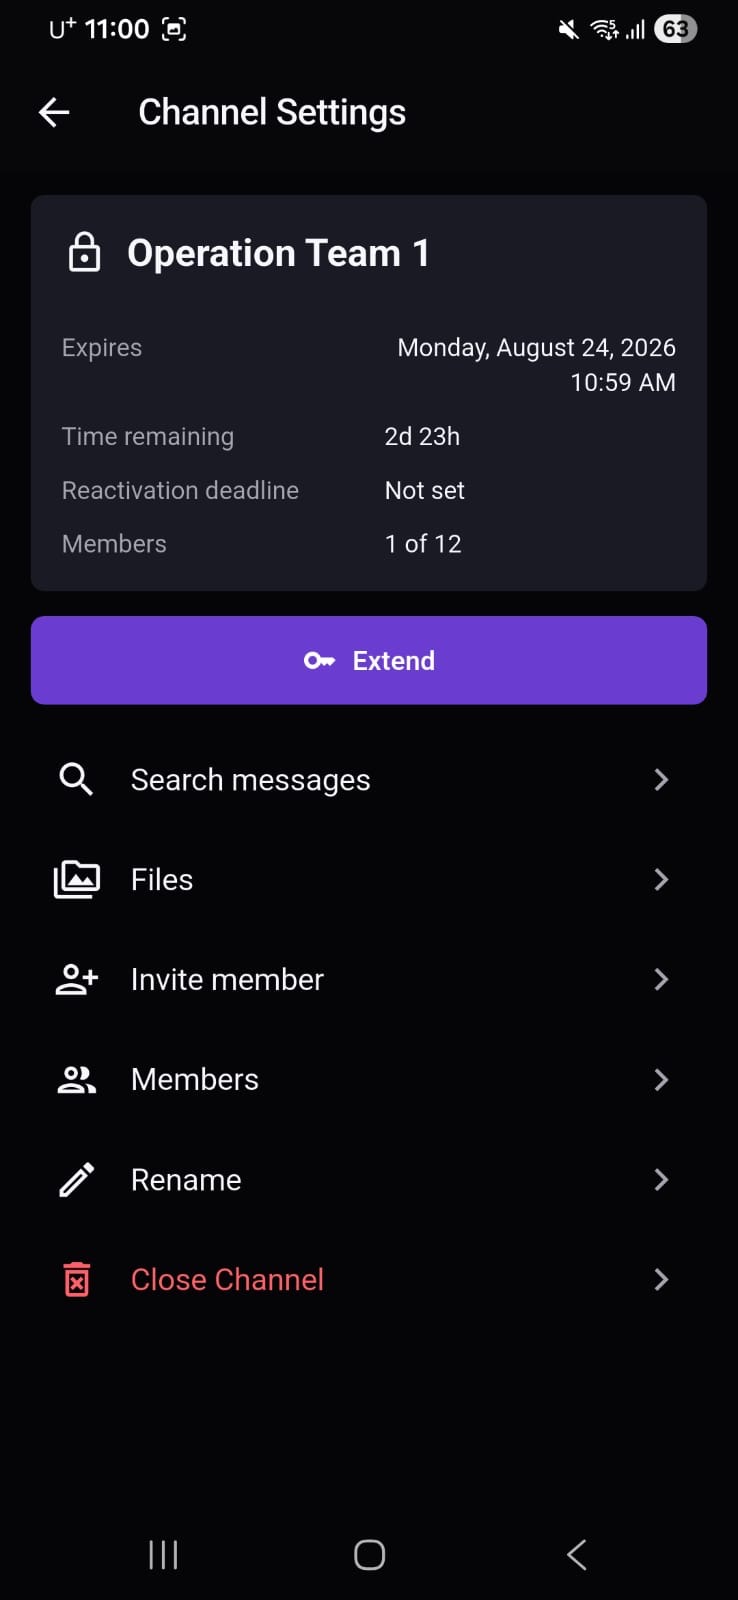
In Channel Settings, tap Invite member. M2 creates a new one-time invitation and shows its short invitation ID. Closing and reopening this screen creates another invitation with a different ID.
For the strongest handoff, let the intended member scan the current QR code directly from your screen. Otherwise, tap Copy and send the complete current invitation code through a protected, authenticated channel. After that member joins, reopen Invite member before inviting someone else; a used invitation cannot be reused.
Anyone who receives a valid invitation may be able to join. Do not post a QR code or invitation publicly, and do not send it to Mirage Project support by email.
Chapter 04
Ask the Channel Host for a fresh invitation, then complete the join flow on your Android device.
Wait until M2 reports that your digital identity is protected, then tap Join Channel on the Channels screen.
Scan the Host’s current QR code directly, or copy the entire invitation and tap Paste code. M2 fills the invitation field from your clipboard. Never use an invitation posted in a public place.
Choose the Channel name shown only on this device and tap Next. Then enter the display name other members should see.
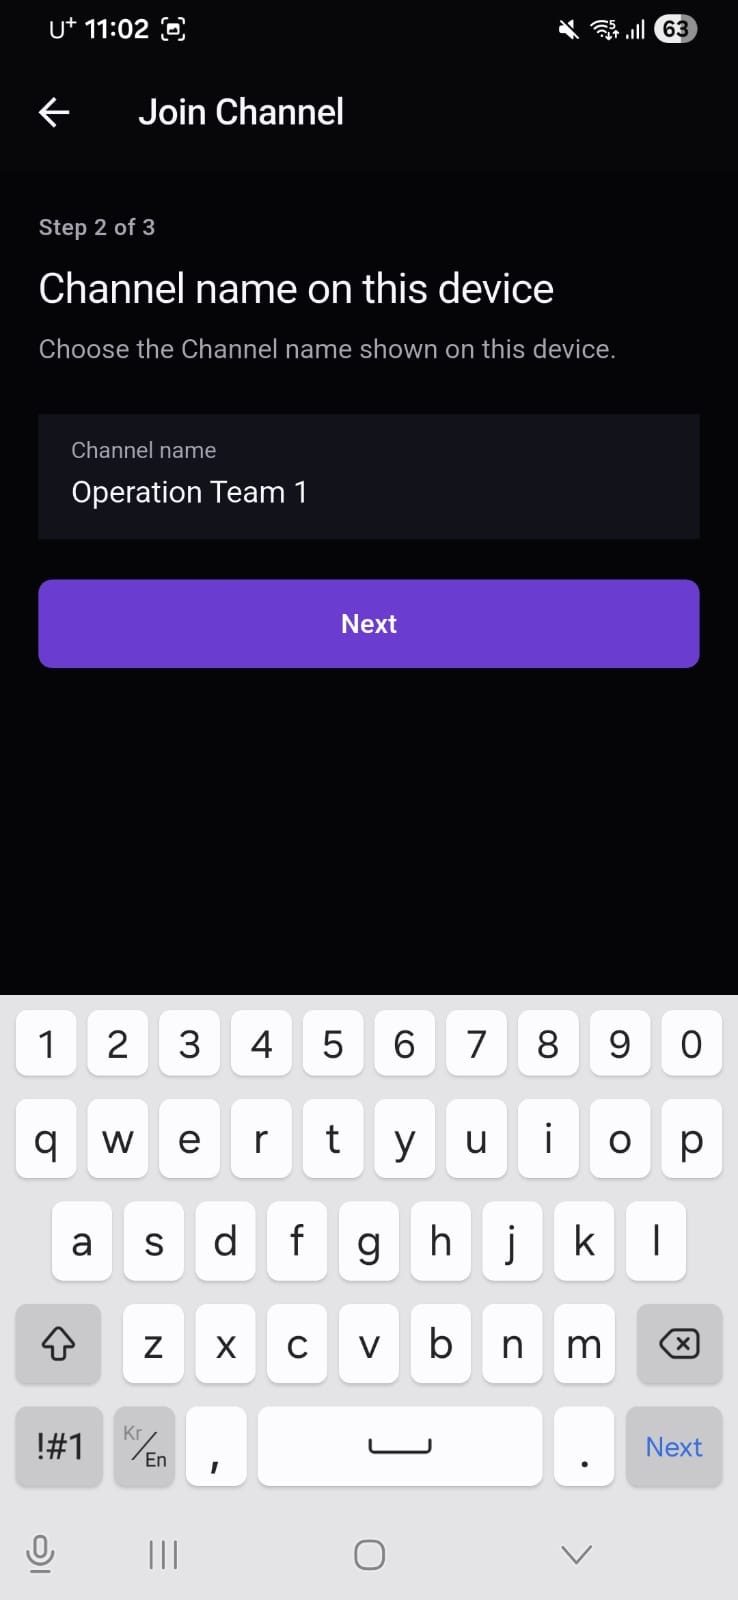
Review your entries and tap Join Channel. When the operation succeeds, the Channel appears in your list. If M2 reports an error, check the protected connection and ask the Host for a new complete invitation before trying again.
Download the current signed M2 APK from Mirage Project, then keep this guide open while you install.